WOO HOO!

I started this blog to get to know other gardeners and track my own garden's progrss. It is a wonderful way to honor the stewardship I have over my plot of ground I have been blessed with. Thanks for stopping by!

Thursday, April 28, 2011

What's Going On In My Garden This Week!

Linking up with
Buttons in my Sidebar
Besure and check out all the other great gardener's - so fun to see what is going on at the same time in gardens  all ove rhte world!
~~~~~~~~~~~~
First I want to tell you people in the southern USA how much
my heart hurts with you.  
Please know the prayers and thoughts of many are with you.
~~~~~~~~~~~~~~~~~
Things are starting to grow in my little gardens!
It has been a while since we have seen the sun and they just keep on growing!  

 L to R - Bleeding Heart, Daffodil, Monk's Hood

BULBS  
The bulbs are coming up - it has been a slow go for them because of the weather.   The bulbs on the south are starting to bloom, the ones  on the north side are much smaller.     

PERENNIALS
I have perennials coming up all over my yard!  

VEGGIE GARDEN
I just called to get our  veggie garden plowed when it dries out and warms up - like to be on the top of that list!

FRUIT GARDEN
Raspberries are pruned and old canes cut out . I also put Casoron on them to keep the weeds and grass from growing in the m . You can see the little shoots coming up!
I planted another 2 dozen strawberries and another grapevine.
Our apple, plum, cherry and apricot tree's are all pruned - just need some warm weather so they can do their thing!

~~~~~~~~~~~
Today I am thankful for a nice warm house that keeps us safe from the elements - snow covers the ground this morning and we are warm!!!    
(Taken at 8 a.m. this morning)

Planting Carrots


An article from our  local nursery
Tired of Thinning Carrots?
It just seems so wasteful to discard perfectly healthy plants that could have developed into mature carrots. On our radio show on Saturday we received a couple of great tips from callers on techniques to reduce thinning.
Idea #1- Mix sand and radish seed with your carrots. The sand allows you to spread the seed more thinly and since the radishes mature quickly, when you harvest the radishes your are automatically leaving room for the carrots to grow.

Idea #2- Create your own "seed tape" that automatically spaces the carrot seed to reduce thinning. It also produces a wider row so you get more carrots in a small space. Jon and Eileen stopped by the store and showed us how they do it. All you need is single ply toilet paper, white glue, a toothpick, and carrot seed. Simply dip your toothpick in the glue, touch it to your carrot seed (spread out slightly on the table or a plate), touch it to the toilet paper and let it dry. When you plant, just barely cover the seed with soil until the paper isn't showing. Your seeds will germinate with the right spacing between the plants.

Thursday, April 21, 2011

YIPPEEE!!!! Daffodils!

Linking up this week with Fertilizer Friday   - be sure and click on the link to check out the other gardeners - it is so fun to see what is going on at all the different gardens  at the same time!
~*~*~*~*~
 We have had a long and cold winter here in Idaho...it may snow again tonight but you can't keep the daffodils down!    I have some   that are really close to blooming.   Here is a picture of the  clump that is the closest to popping open - just in time for Easter! 
Happy Easter to you all....

 
 Thanks for stopping by!
  ~*~*~*~*~
Today I am grateful for Easter and what it means for all of us! 
I know that our Redeemer lives!

Tuesday, April 19, 2011

Planted a Honey Crisp Tree Today!

   Hooking up today with Blooming Tuesday!   http://msgreenthumbjean.blogspot.com/   Be sure and check out all the other gardener's and their   wonderful gardens.
The snow is melted , the grass is green,   it is 39* and  the wind is currently only 15  mph.  It is quite glorious outside!  I bought a bare root  Honey Crisp  Apple tree and  finally was able to get out to plant it.  (We have had winds for several weeks of 35-45 mph and gusts much higher.) It is like paradise    right now.  The bigger tree's in the background are others in my little orchard - apple, apricot, plum and cherry.  I hope to get a couple of pear tree's to add to this wonderful area.

Here is a little bit about the Honey Crisp Tree-
  • The Honeycrisp apple is a high quality apple which keeps well for 5-6 months in common storage. The tree is one of the most vigorous and hardy of apple trees, showing little damage at -40 degrees. Needs to be thinned heavily. Honeycrisp fruit is characterized by an exceptionally crisp and juicy texture. Its flesh is cream colored and coarse.  The flavor is sub-acid and ranges from mild and well-balanced to strongly aromatic, depending on the degree of maturity. Great eating apple with its subacid flavor. Develops its full aromatic flavor if left on the tree until mid October. Suggested pollinators are Gala, Granny Smith, Empire, McIntosh and Red Delicious. Not pollinated by Gravenstein. http://www.naturehills.com/product/honeycrisp_apple.aspx
~*~*~*~**~
Here is a post that shows our apple tree's in full bloom last spring:  http://bucketideasforgardening.blogspot.com/2010/05/our-apple-trees-arent-they-lovely.html
 ~*~*~*~*~**~ 
Today I am grateful for soft breezes instead of gale force winds! 


Monday, April 18, 2011

Broccoli Without Worms


We have a great nursery here in town named Town and Country.  They send out a monthly  newsletter with all kinds of great info in it - this is one of their articles from the newsletter this month.  I want to keep this info so it gets a  post  today!   (Click on the link above for their website.)

Here is the article: 
If you are like me, you probably don't like finding caterpillars in your broccoli. And you probably don't much like having to use chemical insecticides, either. So here's a simple, inexpensive solution. Lay row cover (available at Town & Country) over the plants to keep the bugs off. You can simply lay it over the plants as shown above or, as shared with me by a customer (who sent me pictures which for the life of me I can't seem to find now), you can build light portable frames out of 1x2 lumber and staple the row cover to the frames so they can easily be removed for harvesting, etc.
Yet another ingenious idea is to cover them individually. For each broccoli plant, you will need one of the smaller-sized wire tomato cages. Push the cage into the ground over the plant. Then place a mesh laundry bag (available at Town & Country for just this purpose) over the wire cage and pull the mouth down to the ground. Pull the tie string closed and this will keep the moths from laying the eggs that hatch into cabbage caterpillars. And you thought laundry bags were for laundry!
 Click here for original article

Monday, April 11, 2011

Raspberry Care

Hooking up with Fertilizer Friday.... http://www.tootsietime.com/
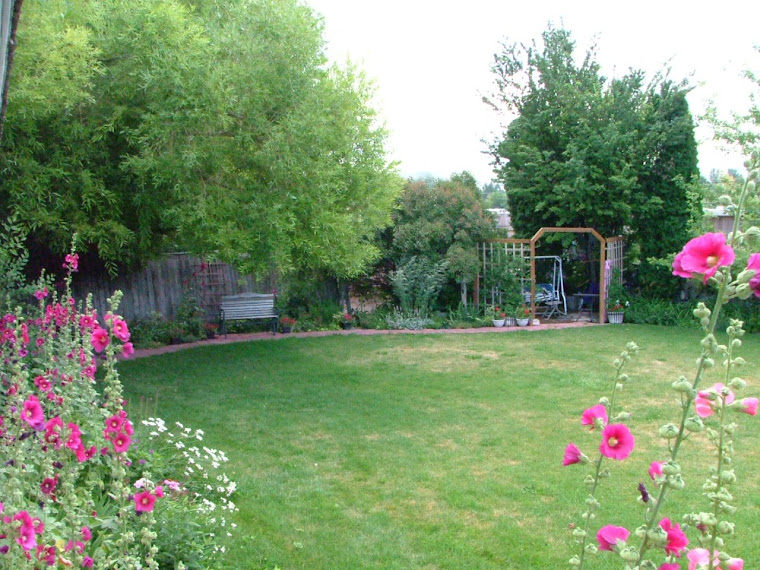
I really want to play with all of you at Fertilzer Friday - but it is hard when there is snow in the backyard!!!
~*~*~*~*~*~

Holy Snow Batman! 
It looks like a Christmas Card in my Back Yard!!!


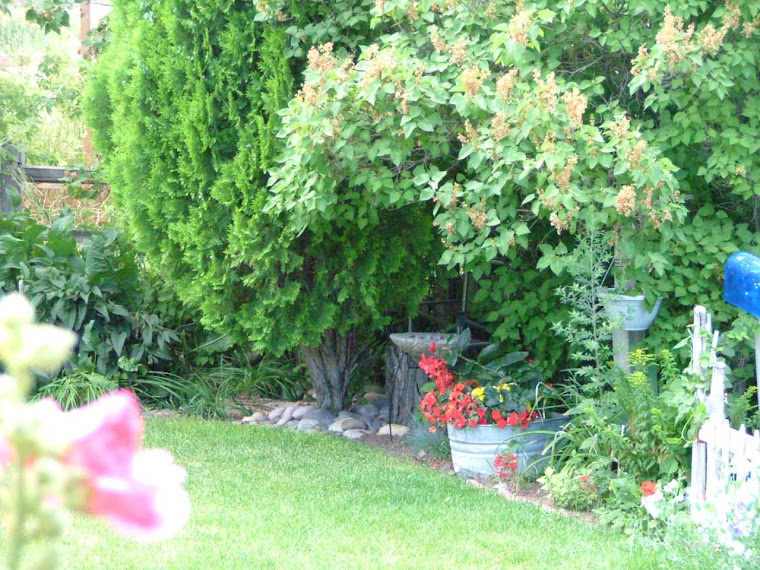
So with that being said - I am still learning about caring for some of the stuff in my yard.  Here is a great article about Raspberries!   This is by - VAL (Grandpa's Rose)  LInk at the bottom for original post.

First of all there are two main types of raspberries, summer bearing and fall bearing. If you are unsure right now, which ones you have, treat them as summer bearing until they finish next year, and at least if they turn out to be fall bearing you won't have had a year without any berries.

Fall bearing bushes are the easiest to prune, as you do not need to decide what to keep and what to not. After the berries have all been harvested, cut or mow the whole row down to ground level. They will grow back up, and bear again in the fall.

Summer bearing raspberries take two years to complete their cycle, and therefore, if you were to cut all of yours to the ground now, without knowing if they were summer or fall, you could end up without any berries for a year.

The young, green canes poke out of the ground, and grow over the summer to quite a height (these are called floricanes). In the fall, some people let these branches continue growing as high as they want, and others top them at a more manageabe height (as I do) so that it is easier picking. Topping them also encourages bilateral branches from the sides of the canes, giving you a higher yield of berries.

In the spring, your canes that grew nice and tall over the past summer, but did not bear any berries should be left in the garden. They will now bloom this year, and bear lots of berries for you.

Then in the fall, you will see that you now have two types of canes. (if you just moved in and the raspberries haven't been taken care of, you probably have this stage now). Some are the nice new green canes that have not had berries this year, and some may already be dying or dead, but even if they are not yet, their stem will be brown or a greyish color. These old canes need to be cut out right to the ground. They are finished and will not bear fruit again. You should just be left with green canes (floricanes) again.

Your raspberries will continue this ongoing cycle, year after year.

Most people also use different ways of staking their raspberries as they can get unwieldy if just left. Some put a heavy, tall stake at each end of the row, run a line to both, and then tie each individual cane to this line. This is called a T trellis.

Others place several tall,heavy stakes along both sides of the row (the number would depend on the length of the row) about every six feet. Then a line is run all the way around these stakes, making a sort of cage. The line can be run at several heights, if your canes are different heights. This is call a hedgerow trellis.

Other people just let them grow their own way and let them do their own thing.

Raspberries will tolerate alot of hot dry weather, but while blooming, and especially while bearing fruit, require alot of water. The less water you give them at this point, the smaller your berries will be. Also, if you get hot glaring sun all day, try to somehow provide them with a little shade during the harshest time of the day to prevent scalded berries.

Raspberries, like all plants have their own special soil needs. They prefer deep, sandy/loam soil, although they will grow in almost any soil. The PH level for them is between 6 and 7, and they like a high level of organic matter.

Hope all of this helps, and that you have a wonderful crop to enjoy!

Feel free to return and ask any more questions you need to.
                         http://www.helpfulgardener.com/phpBB2/viewtopic.php?t=1491
Click on OLDER POSTS to see more gardening posts